How to Paint a Chiminea
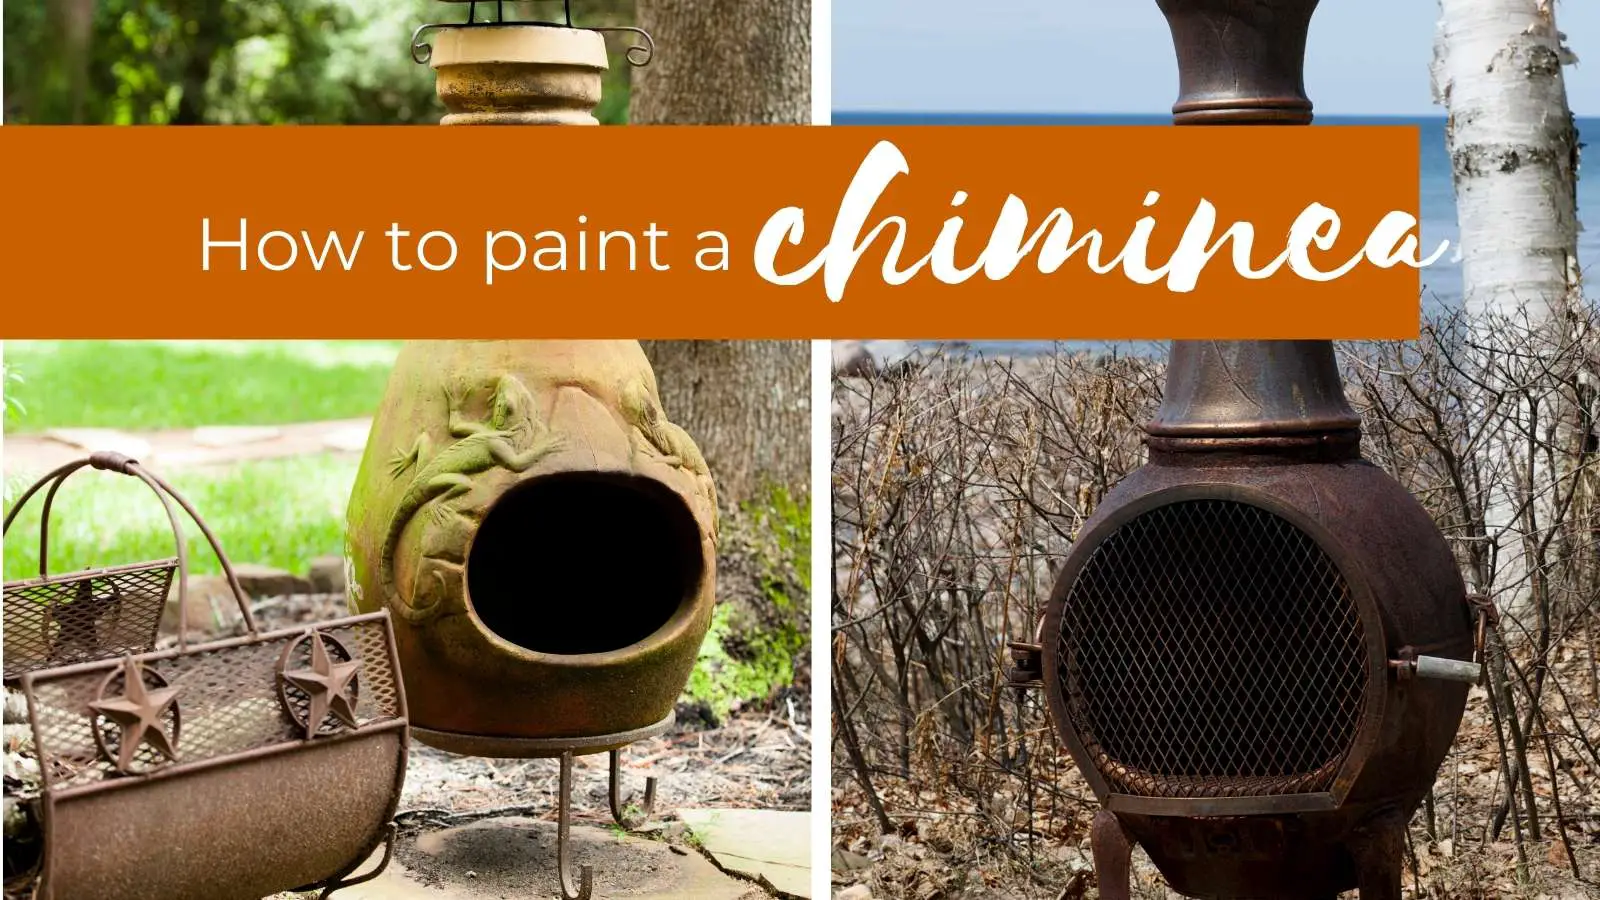
How to paint your chiminea may be a question that has come up because you’ve just bought one and want to seal it to protect and extend its life….or you’ve had your chiminea for a while and it’s crossed the line from chic to shabby some time ago.
What paint can I use on a clay chiminea? Do I need to paint a metal chiminea? These are all excellent questions and we’ll make sure to cover them in as much detail as you need.
Whether you have a clay or metal chiminea, it’s a good idea to paint your chim to try and keep as much of that pesky moisture out as possible.
Moisture is the enemy of chimineas and by painting your chiminea we can at the very least postpone the weather damage.
What Paint Can I Use on a Clay Chiminea?
Let’s tackle clay chimineas first (you can skip ahead to the next section if you have a metal chiminea).
Clay chimineas come in a range of sizes and quality of clay.
TIP – Always check your particular manufacturer’s instructions first as they are the best place to start to figure out how to care for your clay chiminea.
There are cases of clay chimineas from the elite range from Gardeco where they have developed their very own special clay called Chimalin AFC. It’s been designed to specifically be crack-resistant at high temperatures and also deal with heat shock so well they even have a 5-year guarantee.
For the rest of us with regular clay or terracotta chimineas, we need to use a sealant like Thompson’s water seal for stone.
There’s also a sealant called ‘Chimseal’ from La Hacienda that’s been made especially for clay chimineas.
Here’s how to paint your clay chiminea:
- Find a suitable place to paint and put down dust sheets or similar to protect the ground/floor you’re working on.
- Clean out any ash and debris from firebowl
- With a dry brush, scrub the outside or your clay chiminea to clean off any dust and dirt – avoid using any water to clean unless absolutely necessary as you will have to wait until it’s bone dry before painting
- Patch test small area (in out of sight area if possible) and wait 24 hours – do this to make sure it doesn’t alter your chiminea colour
- Once satisfied with the patch test use the sealant to paint on over the entire OUTSIDE surface of your chiminea
- Wait until dry and apply 2nd coat of sealant
- Wait at least 48 hours to completely dry
- Light a small fire (this should finish off the drying process)
- Your chiminea is now sealed
- Cover newly sealed chiminea when not in use
Check our article on how to cure a clay chiminea to complete the seasoning process for your clay chiminea.
How to Paint a Cast Iron Chiminea
Cast iron chimineas are generally hard-wearing and you can extend that life by protecting it with a heat-resistant paint – essentially think of your chiminea as a bbq when it comes to painting it.
What kind of paint do you use on a metal chiminea?
Spray paint is best and when you take some time to research the best paint available for chimineas you’ll likely come to the same conclusion and that is Rust-Oleum spray paint is what we’ve had the best results with by far.
If sealing a new metal chiminea we recommend the Rust-Oleum Stove & bbq Black Matt Multi-surface Spray paint – it’s available for £8.50 at Amazon at the time of writing. Heat resistant up to 650°C, protects against rust, and will give your metal chiminea a complete makeover if you use it correctly.

You can use it on any type of metal chim, and there are 4 colours to choose from and much less faff than other brands as you’ll only need one coat.
Bringing a Metal Chiminea Back to Life
If your chiminea needs some TLC and already has some rust, try using Rusto-leum Rust Reformer first as a primer and then follow with the Stove and BBQ paint.
In addition to paint you’ll probably need the following:
- Dust sheet or something similar to protect the ground when painting
- Wire brush for removing excess rust
- Wire wool or sandpaper to get the tricky spots.
- Latex gloves or similar
- Face mask – even when spray painting outside, it’s always best to wear a mask
Step by Step – How to Paint a Chiminea
Now that you’ve gathered what you need, here are your step-by-step instructions for how to paint a cast iron chiminea (or other metal).
- Find a suitable space outdoors and lay down a dust sheet or two to protect the surface you’re working on.
- Clean out the fire bowl of your chiminea then we’ll be leaving the inside alone.
- Next we need to remove all the rust and any debris and flaking paint from the outside surface of your chim. The easiest way to do this is to take it to a builder who can sandblast it – but this can be expensive. A bit of elbow grease never hurt anyone and with a wire brush and some wire wool you could do this yourself.
- Apply coat of rust reformer as primer
- Leave to dry for 24 hours.
- Apply BBQ paint and leave to dry for another 24 hours.
- It’s time to invite those friends round for a garden gathering (socially distanced of course!) – your chiminea is now ready to use.
- Re-apply once a season at least.
In Summary
Although many of us may not have the time to seal a chiminea, don’t expect it to last much longer than a season or two at most if you skip it.
If you’ve invested some money in a chiminea, it’s well worth going all in and taking a few hours to seal it up against the British rain. Otherwise, next spring you’ll haul the thing out of your shed excitedly only to find it’s badly cracked and good for nothing save perhaps an impressive planter.
We hope you’ve found this article useful – if you have, we’d love you to share the chim knowledge. Thanks!

