Master the Art of Chiminea Repair: A Comprehensive DIY Guide
Picture this: You’re standing in your backyard, the air around you getting brisk as the sun dips below the horizon. You’re ready to bring that special cozy warmth to your outdoor space – it’s chiminea time!
You’ve got your marshmallows, your chocolate, and your Digestive biscuits (or graham crackers if you’re in the US), and you’re ready for some good ol’ fashioned s’mores under the stars. But there’s just one hitch – your trusty chiminea, that faithful purveyor of warmth and ambiance, is showing signs of wear and tear.
Bummer, right? Not anymore! There’s no need to let a few cracks or a bit of rust dampen your backyard fun. You’ve got this! After all, we’re here to arm you with all the knowledge you need to bring your chiminea back to life.
Welcome to “Master the Art of Chiminea Repair: A Comprehensive DIY Guide” – a guide that takes you, yes YOU, from chiminea user to chiminea fixer-upper. From the hills of San Francisco to the lush gardens of Sussex, whether you’re an amateur or a seasoned chiminea veteran, this guide is made for you. By the end of it, you’ll not only know how to fix common issues that arise with your chiminea but also have a deeper understanding of this lovely outdoor fireplace and how to keep it in top-notch condition for many years to come.
So, pull up a chair, grab a warm drink (maybe save those marshmallows for the victory s’more), and let’s dive into the exciting world of chiminea repair. You’re about to become the go-to chiminea expert in your neighborhood!
Understanding Your Chiminea
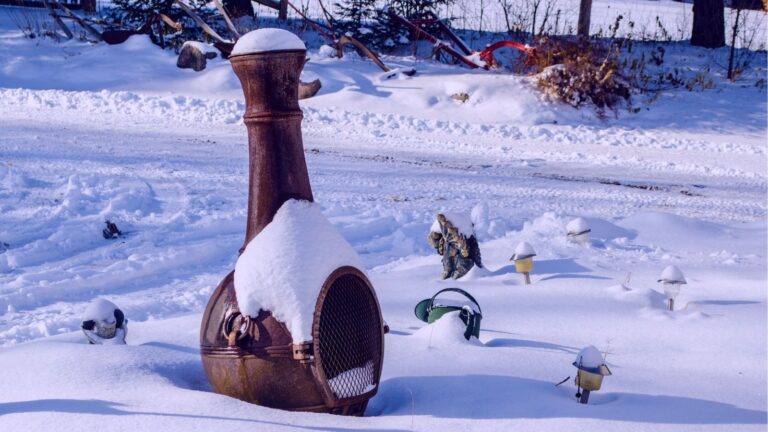
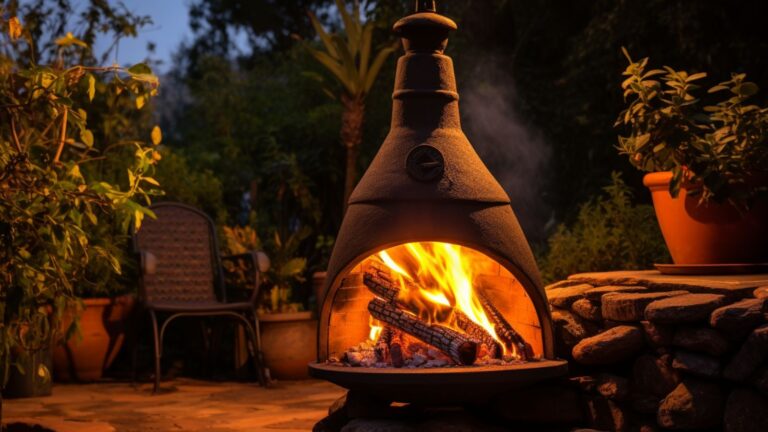
Ah, the humble chiminea, a backyard staple that hails from sunny Mexico. But what is a chiminea, really? Picture an oversized potbelly vase with a stout little chimney – that’s your chiminea! Primarily designed to contain fire and radiate heat, these lovely outdoor fireplaces come in a variety of materials like clay, metal, or even cast iron.
And just like people, each chiminea has its unique personality. Clay chimineas, for instance, are traditionally made and have a natural, earthy charm. They radiate heat gently, perfect for a chill evening where you want a mellow warmth. On the other hand, cast iron chimineas are the tough cookies of the chiminea world. They can handle higher temperatures and tend to be a bit more durable, making them a great choice for those all-night backyard parties.
Understanding the material and structure of your chiminea is the first step in mastering chiminea repair. Why? Well, just like you wouldn’t use a hammer to fix a lightbulb, different chiminea materials require different care and repair techniques. Knowing what you’re working with allows you to choose the right methods and tools to fix any issue that may arise.
Common chiminea issues could range from cracks in clay chimineas to rust in metal ones or even issues with the chimney or the grate. Fear not! By the end of this guide, you’ll be well-equipped to handle each of these problems like a pro. But first, let’s take a look at the tools you’ll need in your chiminea repair journey.
Tools You Will Need for Chiminea Repair
Alright, my DIY comrades, it’s time to gather your tools. Picture yourself as the Sherlock Holmes of chiminea repair – having the right tools at your disposal is half the battle won! Remember, we’re not just repairing here, we’re breathing life back into your chiminea. Here’s what you’ll need:
And there you have it – your DIY chiminea repair kit! You’re already one step closer to becoming a chiminea champion. Let’s move on to preparing your chiminea for the repair process.
Preparation Before Repair
Preparation is key, my chiminea chums! Think of this stage as laying the foundation for a beautiful house – the better the foundation, the more stunning and long-lasting the house. So, roll up your sleeves and let’s get that chiminea ready for its makeover.
- Cleaning: First things first, your chiminea needs a good clean. Grab your stiff brush and soap, and give your chiminea a thorough scrubbing. Be sure to remove any ash, soot, or debris from inside and any loose material or rust from outside. Remember, a clean chiminea is a happy chiminea!
- Drying: After cleaning, let your chiminea dry completely. Any moisture left can interfere with the repair process, especially if you’re dealing with clay. A bit of sunbathing will do your chiminea good, or you can gently dry it using a cloth.
- Assessment: Now that you have a clean, dry chiminea, take a moment to assess the damage. Look for any cracks, chips, rust spots, or areas where the surface is flaking. Knowing exactly what needs fixing will make your repair work much more effective.
- Safety Measures: Don your safety goggles, gloves, and mask. Ensure you’re working in a well-ventilated area, especially while using the heat-resistant mortar and paint. Safety is a priority, after all.
Congratulations, you’ve laid a solid foundation! Your chiminea is now prepped and ready to be restored to its former glory. So, buckle up, because next up is our step-by-step repair guide – the heart of our chiminea makeover.
Step-by-Step Repair Guide
Repairing Cracks and Chips
- Sand Down the Area: Using your sandpaper, gently sand the area around the crack or chip. This will remove any loose material and provide a better surface for the mortar to stick to.
- Apply the Heat-Resistant Mortar: Carefully apply the heat-resistant mortar into the crack or chip. Make sure it’s filled, but avoid overfilling. Smooth the surface with a tool or your gloved hand.
- Let it Dry: Allow the mortar to dry according to the manufacturer’s instructions. This is important for the repair to hold up under the heat.
Dealing with Rust on a Chiminea
- Brush Off Rust: Use your wire brush to scrub off the rust. Be thorough, but take care not to damage the underlying surface.
- Sand the Area: Once you’ve removed the rust, sand the area down to smooth it out and prepare it for painting.
- Apply Heat-Resistant Paint: Paint over the sanded area with your heat-resistant paint, ensuring to blend it with the rest of the chiminea.
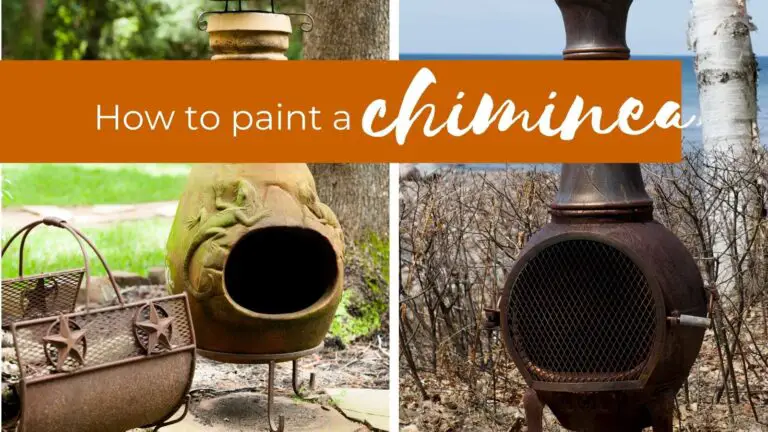
Refreshing the Look
- Sand the Entire Chiminea: If your chiminea is looking a little tired, sanding the entire surface will prepare it for a fresh coat of paint.
- Apply Heat-Resistant Paint: Choose a color that suits your style and paint your chiminea. Remember to apply in thin, even coats, and let each coat dry before applying the next.
And voilà! You’ve successfully repaired your chiminea. But we’re not done yet – let’s move on to post-repair care and maintenance to ensure your chiminea stays in top shape for a long time.
Post-Repair Care and Maintenance
Now, take a moment to admire your handiwork. You’ve successfully breathed new life into your chiminea, and that’s something to be proud of! But like any good craftsman, our job doesn’t end at repair. Ensuring your chiminea remains in top-notch condition is the next step of your chiminea master journey. Here’s how you can do it:
- Cure Your Chiminea: After any repair, especially if it involved mortar or paint, your chiminea needs to be cured. This simply involves lighting small fires and gradually increasing the size over time. This process will allow your repairs to set fully and adapt to heat.
- Regular Cleaning: Just like how a clean home is a happy home, a clean chiminea is a happy chiminea. Regularly removing ash and soot will improve its function and longevity.
- Cover or Store Away: If you’re expecting severe weather or won’t be using your chiminea for an extended period, it’s best to cover it or store it indoors. This can prevent unnecessary weathering or damage.
- Regular Inspections: Make it a habit to inspect your chiminea regularly for any signs of damage or wear. Early detection can make the repair process simpler and prevent further damage.
- Use Suitable Fuel: Not all chimineas can handle the same fuel. Some prefer wood while others can handle charcoal. Using the right fuel can prevent damage and enhance the life of your chiminea.
Just by following these steps, you’ll significantly reduce the need for frequent repairs and keep your chiminea looking and functioning its best.
Safety Guidelines Repairing your chiminea
Now that you’re a bona fide chiminea repair master, let’s not forget the important aspect of safety. Maintaining your chiminea isn’t just about repairs and looking good – it’s also about keeping it safe for everyone around it. Here are some key safety tips to remember:
| Safety Guideline | Explanation |
|---|---|
| Placement | Ensure your chiminea is placed on a flat, non-flammable surface, away from any overhanging branches or structures. |
| Extinguish Fires Safely | Always make sure your fire is completely out before leaving your chiminea unattended. Use a bit of water to help extinguish the coals completely. |
| Proper Fuel | Use the correct fuel for your chiminea. Avoid using any flammable liquids to start or maintain your fire. |
| Safety Equipment | Keep safety equipment, like a fire extinguisher or fire blanket, close by when using your chiminea. |
| Children and Pets | Monitor children and pets around the chiminea. It can become very hot and pose a risk to the curious and unaware. |
How do you cure a cast iron chiminea?
Curing, also known as seasoning, a cast iron chiminea involves applying a layer of oil or fat to the surface and then heating it to create a protective layer. This process helps to prevent rusting and improves the durability of the chiminea. Here are some steps you can follow:
- Clean Your Chiminea: Start by cleaning your chiminea to remove any dust, dirt, or debris. You can use a damp cloth for this process. Make sure to dry it thoroughly afterward to prevent rusting.
- Apply Oil or Fat: Next, apply a thin layer of oil or fat to the entire surface of your chiminea. You can use a cloth or a brush to do this. Suitable oils include vegetable oil, flaxseed oil, or even lard.
- Heat Your Chiminea: Light a small fire inside your chiminea. The goal is to heat it gradually so the oil or fat can polymerize and form a protective layer. It’s important not to make the fire too hot too quickly, as this could cause the chiminea to crack.
- Cool Down and Repeat: Allow your chiminea to cool down naturally. Once it’s cooled, you can repeat the process a few more times to build up a good layer of seasoning.
- Regular Maintenance: To maintain your cast iron chiminea, it’s a good idea to reapply oil and reheat it from time to time. This will help to maintain the protective layer and keep your chiminea in good condition.
Remember, safety is paramount when dealing with fire. Always follow safety guidelines when using your chiminea, and never leave a fire unattended.
Lastly, it’s worth noting that some cast iron chimineas come pre-seasoned, in which case you wouldn’t need to season it yourself. Always check the manufacturer’s instructions to ensure you’re caring for your chiminea correctly.
How to Cure a Clay Chiminea
Curing a clay chiminea involves a different process compared to cast iron. While cast iron chimineas are seasoned with oil or fat, clay chimineas are cured through a gradual heating process. The goal is to remove any moisture from the clay and prepare it for the high temperatures of a fire. Here are the steps to cure a clay chiminea:
- Start with a Small Fire: For your first fire, you want to start small. Use a few pieces of newspaper or small kindling, and let the fire burn out naturally. This small, initial fire will start to dry out any moisture in the chiminea.
- Gradually Increase the Fire Size: Over the next week or so, gradually increase the size of your fires. You can add larger pieces of wood, but still avoid making the fire too hot. The goal is to slowly heat the chiminea and continue to dry it out.
- Full-Sized Fires: After a week or so of gradually increasing the fire size, your chiminea should be fully cured and ready for regular use. You can now burn full-sized fires without the risk of cracking your chiminea.
- Regular Maintenance: To maintain your clay chiminea, avoid sudden temperature changes which could cause cracking. Always let fires burn out naturally rather than dousing them with water. If your chiminea gets wet from rain, allow it to dry completely before using it again.
Just like with a cast iron chiminea, safety is of utmost importance. Always follow safety guidelines when using your chiminea and never leave a fire unattended.
Lastly, it’s worth noting that some clay chimineas come pre-cured, in which case you wouldn’t need to cure it yourself. Always check the manufacturer’s instructions to ensure you’re caring for your chiminea correctly.
FAQs Chiminea Repair
What type of sandpaper should I use for chiminea repair?
A medium-grit sandpaper is typically sufficient for most chiminea repair tasks, such as smoothing rough spots and removing old paint.
Can I use regular mortar and paint instead of heat-resistant ones for chiminea repair?
No, it’s crucial to use heat-resistant mortar and paint for chiminea repair. Regular types won’t withstand the high temperatures and could lead to further damage.
How long does it usually take for the heat-resistant mortar to dry?
Drying time can vary depending on the brand and environmental conditions, but generally, it takes at least 24 hours. Always check the manufacturer’s instructions for the specific product you’re using.
How often should I clean my chiminea?
It’s recommended to clean your chiminea after each use. Regular removal of ash and soot will help maintain its functionality and longevity.
What should I do if my chiminea has large cracks or damage?
For larger cracks or significant damage, it’s advisable to seek professional help or consider replacing the chiminea. DIY repairs might not be enough to restore its integrity and safety.
Can I use my chiminea immediately after painting it?
No, you should wait until the paint is completely dry before using your chiminea. Also, it’s a good idea to cure your chiminea by gradually building up the heat over time.
How do I know if my chiminea needs repair?
Regular inspections can help identify signs of wear, such as small cracks, chips, rust spots, or areas where the surface is flaking. If you spot any of these, it’s time for a chiminea repair.
Can all types of chimineas be repaired using this method?
The method described in this guide is most suitable for clay or cast iron chimineas. If you have a different type, you should consult the manufacturer’s instructions or seek professional advice.
What’s the best way to store my chiminea during bad weather to prevent damage?
If you’re expecting severe weather or not using your chiminea for a while, it’s best to store it indoors or cover it with a waterproof cover to protect it from the elements.
Can you leave a chiminea out in the rain?
Regardless of the material, it’s generally not recommended to leave a chiminea out in the rain. Here are a few reasons why:
Rust and Corrosion: Cast iron, steel, and other metal chimineas can rust when exposed to rain. Over time, this can degrade the material and compromise the structural integrity of the chiminea.
Moisture Absorption: Clay chimineas are porous and can absorb water. If a waterlogged chiminea is heated before it has a chance to dry out completely, it can crack due to the steam created by the heated water.
Paint Damage: Many chimineas are coated with a protective paint to prevent rust and enhance their appearance. Prolonged exposure to rain and moisture can cause this paint to chip or peel off, leading to a less appealing look and potentially exposing the underlying material to the elements.
Degradation of Insulating Properties: Chimineas are designed to contain heat effectively. However, exposure to rain and moisture can degrade these insulating properties over time, making the chiminea less effective at radiating heat.
READ NEXT: How to repair a clay chiminea.