How to Repair a Clay Chiminea
As someone who loves spending time outdoors, I have always been a big fan of chimineas. They are such a great way to add warmth and ambiense to your backyard or patio, and I have enjoyed many cozy evenings huddled around mine with friends and family.
But like anything, chimineas require some maintenance and occasional repairs to keep them in good shape. Recently, I had to learn how to repair a clay chiminea and I wanted to share my experience and tips with you in case you find yourself in a similar situation. So, without further ado, let’s dive into the world of chiminea repair!
Clay chimineas are, unfortunately, prone to cracking. This can be caused by dropping them or having fires that are too big and get too hot.

Moisture is a big player in the cracking of clay chimineas that have been exposed to the weather outside over the winter. Even if your chiminea doesn’t get wet directly, if left outside moisture will eventually get into the clay.
Your clay chiminea is porous, moisture gets into the clay, and then with changing temperatures causing the water to expand or contract the clay structure.
TIP – Cracks often start small so make sure to check your clay chiminea regularly. If you catch a small crack it will be far easier to fix than a large one.
Then you are left with a crack. So how do we fix it?
This is what you’ll need:

TIP – Remember some cracks will render your chiminea structurally damaged and beyond repair. You should only attempt to fix small to medium size cracks. Any larger and it’s safer to turn your chiminea into a pretty plant pot than attempt to stick it back together.
For a more extensive look at DIY chiminea repair check this article: Master the Art of Chiminea Repair: A Comprehensive DIY Guide
Steps to Repair a Cracked Chiminea
Step 1 – Sand the Area
Put on your gloves and get to work sanding the area around and over the crack. Medium coarse sandpaper should work fine. Use gentle strokes and work the area well making sure also to take off any paint or surface sealant.
Step 2 – Chiminea Repair Cement
Fire cement is the perfect filer as it’s designed to perform the same function to fire bricks or fireplaces and has a heat resistance of up to 1250 degrees Celsius.
Apply the cement to the crack using the spatula or your fingers. You should get enough on there to have an extra bulge that you can sand later.
Step 3 – Leave to Dry
Leave in a well-ventilated area but protected from the weather for 24 hours. This should ensure the cement has thoroughly dried.
You should only continue to the next step when you are sure it is completely dry. Follow instructions on the product you are using and also check that it’s dry to the touch.
Step 4 – Sand Excess
Now that your cement is completely dry it’s back to the sandpaper to sand all the excess off and make the cement flush with the rest of the surface of your chim. Again take your time, as remember you can sand it off easily but putting more on takes a while!
Don’t forget if you’re going to go on and do a re-seal after the sanding you’ll have to use a brush to get rid of all the dust and give it a good brush down to prepare for sealing.
Step 5 – Reseal
The optional 5th step is to reseal your chiminea. You can see our article on how to paint a chiminea here. By taking the time to do this you are further protecting your chiminea from the weather and potentially extending its life significantly.
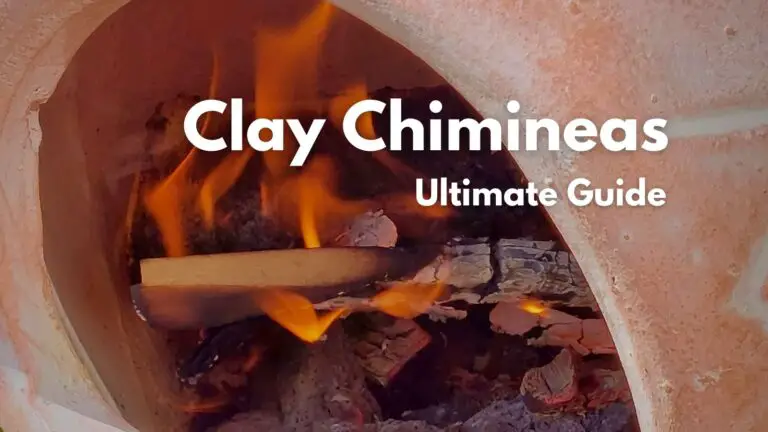
Read my full guide on Clay Chimineas for a crash course in clay chimineas for beginners.
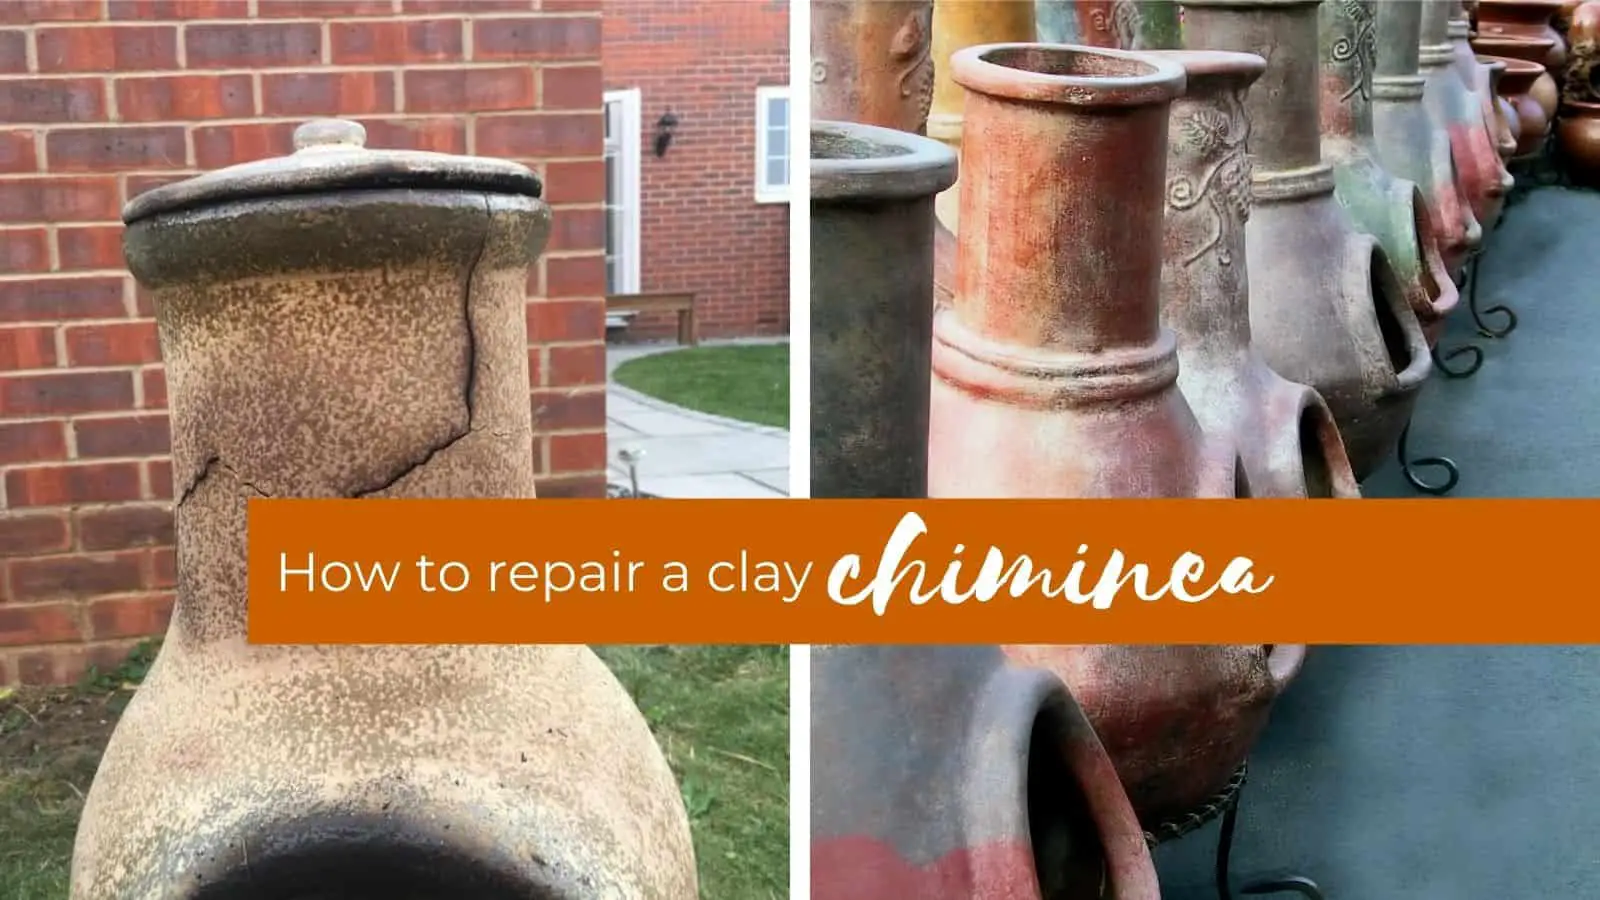
clay chiminea crack repair
Repairing a cracked clay chiminea is relatively easy and not expensive, so it’s well worth giving it a go to repair your cracked chim before giving up on it.
TIP – Prevent cracking by only burning small fires which is what they are designed for. Flames licking out the top of the chimney is NOT a small fire.
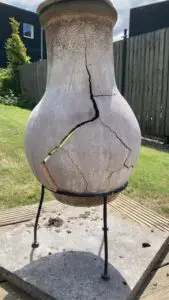
If you have significant structural damage (see pic), then it may be past saving. Keep a watchful eye on your chiminea throughout its life and you’re far more likely to catch small cracks as they develop. Of course, if you catch the small cracks it prevents them from becoming big cracks!
We hope you found this article useful. Have you repaired a clay chiminea? Let us know how you get on .. or if you have any further questions, let us know!
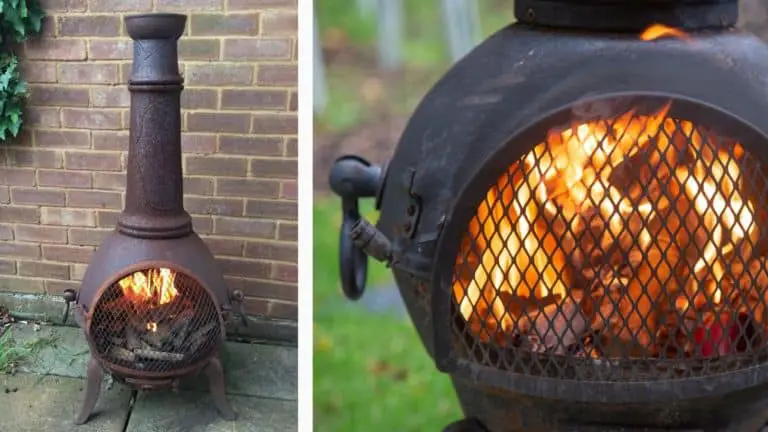
You might also like this article on how to restore a cast iron chiminea.