How to Light a Chiminea

Lighting a chiminea is easy and in just a few steps you’ll be enjoying the warmth, ambiance, and charm that a chiminea brings to your patio or garden.
What you will need:
- Chiminea
- Firelighter or newspaper
- Seasoned kindling
- Seasoned wood
- Long matches or long nose lighter
- Heat resistant gloves
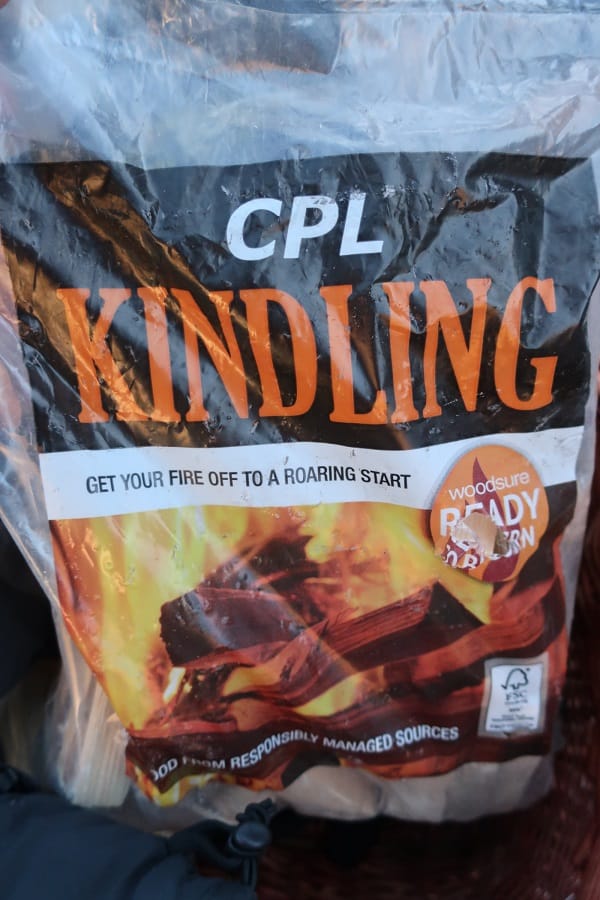
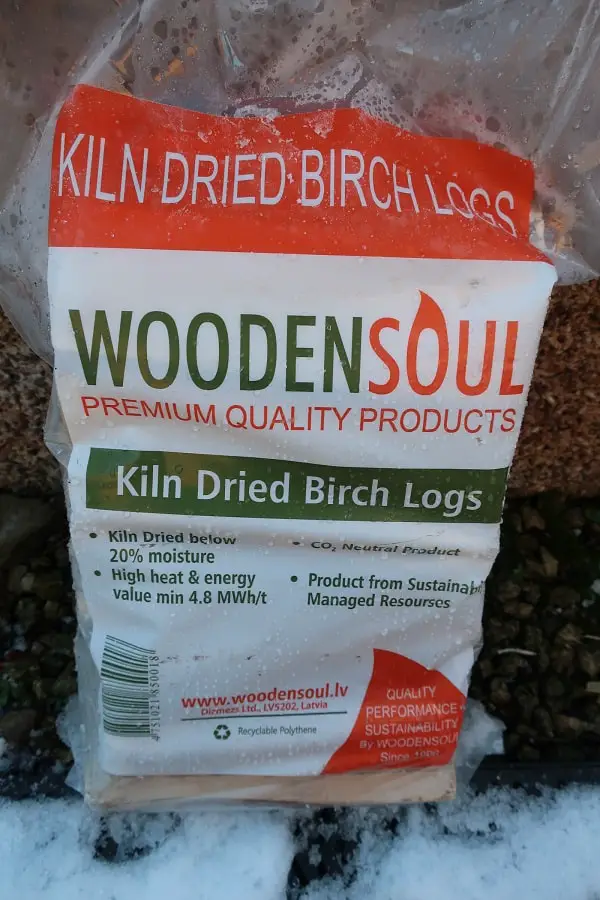
Lighting a chiminea is just like starting any other fire in a smaller space. The basics are the same and we want to build our fire in a safe and controlled way so that you can get the most out of your wonderful chiminea.
Tip: Make sure children and animals are kept at a safe distance
Step 1 – Firestarter
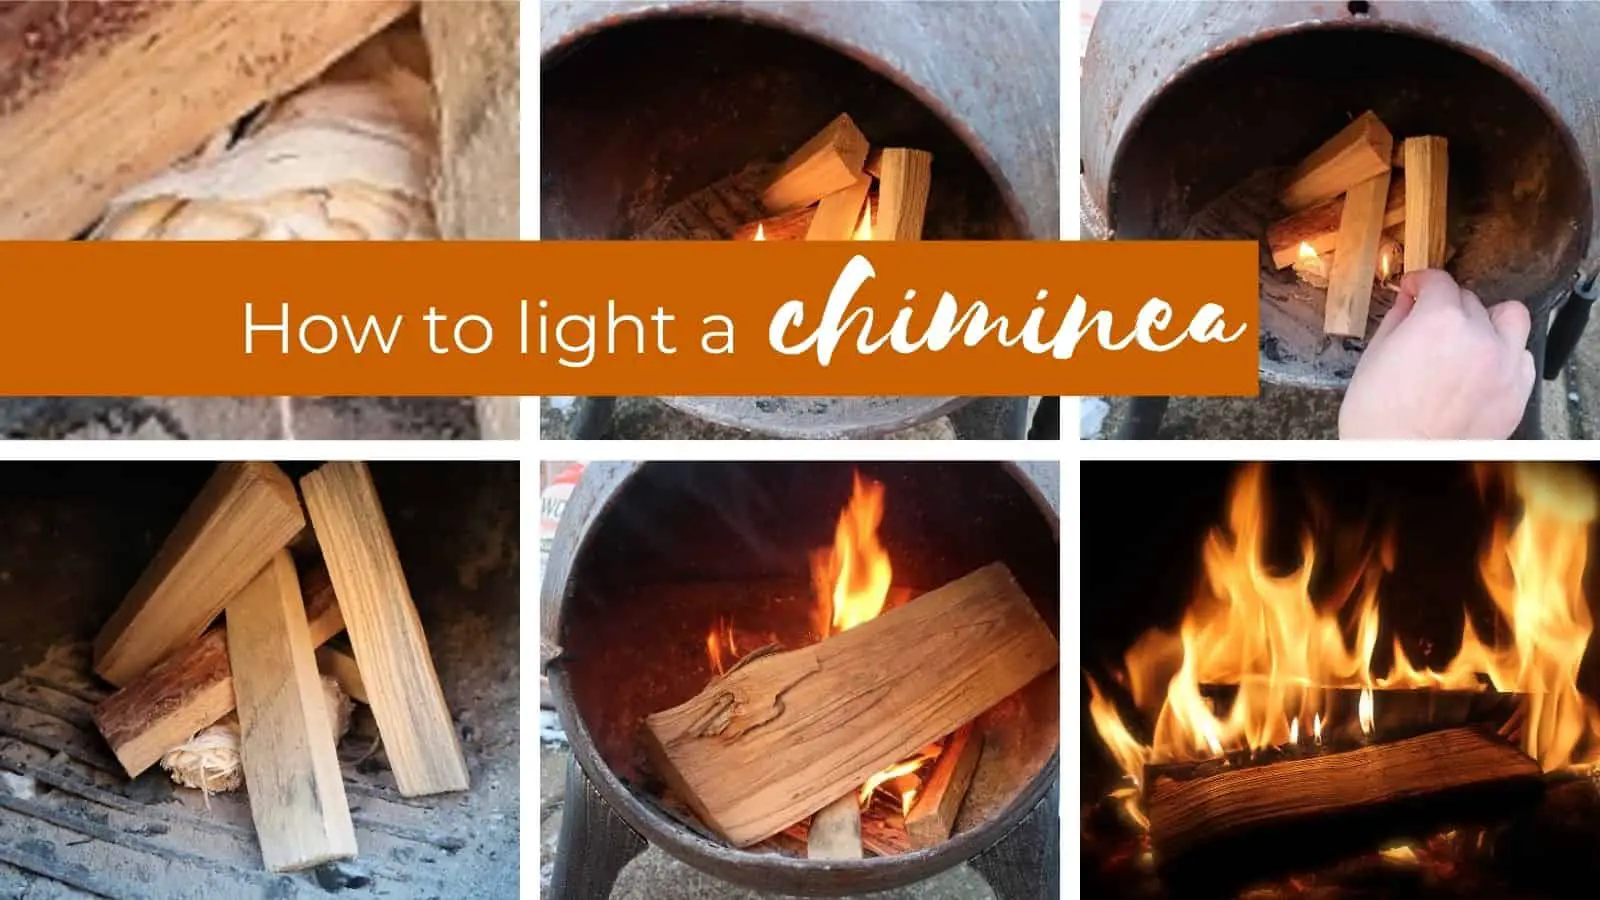
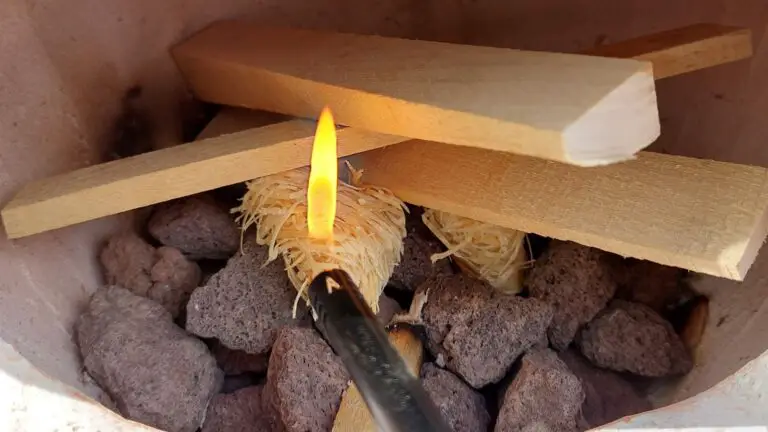
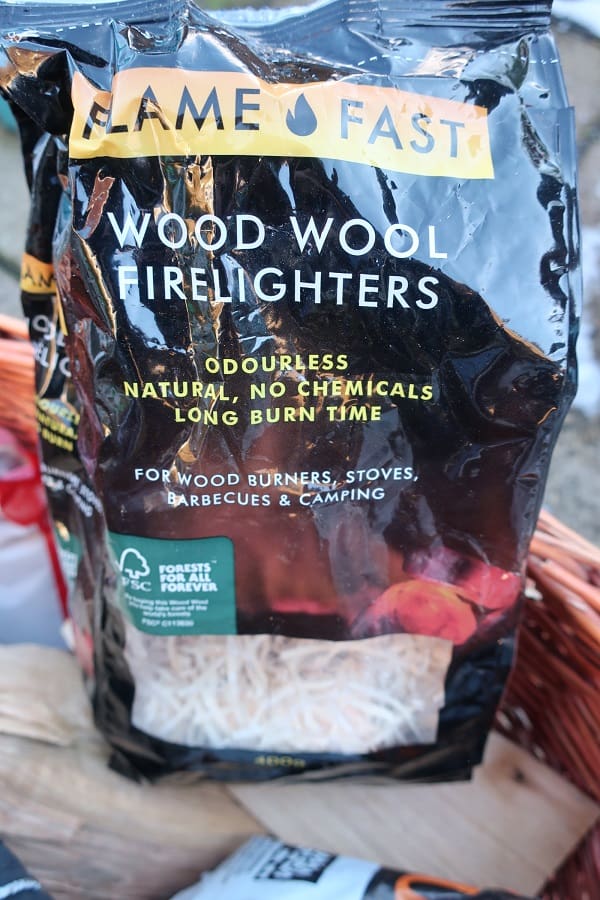
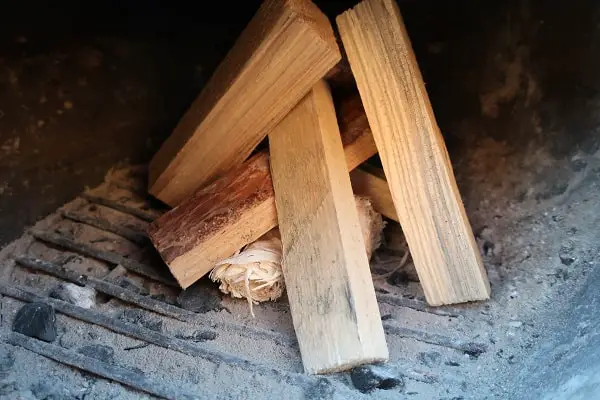
I like using non-chemical fire starters or scrunched-up newspapers to get my fire going. These firestarters pictured are made of wood shavings clumped together – this company calls them ‘wood wool’.
Select a fire starter or scrunched-up newspaper and place in the middle of your chiminea fire bowl. The fire starter material should be bone dry so make sure to keep them stored somewhere protected.
Tip: If using a clay chiminea make sure to cure it if this is your first time lighting. This will prevent cracking.
Step 2 – Kindling
Arrange your kindling around your fire starter and for best results place it making a tepee shape so the fire can breathe when you light it.
Step 3 – Light your Chiminea
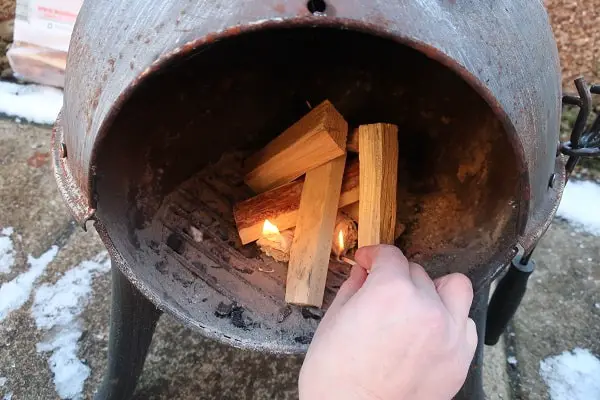
Carefully use a long match or a long-nosed lighter to light your fire starter material. Light a few different spots quickly and don’t keep your hand in there starting to cook once it catches! The fire should catch easily.
You may have noticed the snow on the ground on these pics! Yes, it’s possible to use your chiminea when it’s really cold. Just be extra careful and build your fire slowly (or you may risk heat shocking your chiminea into a damage situation).
Step 4 – Add a Log
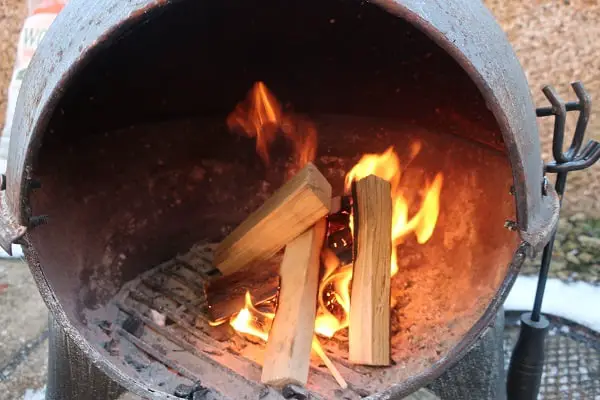
When your fire looks like this and you can see your kindling is well caught, now is the time to add your first log.
In case it’s not something you’ve read about already – make sure to use seasoned logs. This just means that the logs are super dry and will burn well. You can tell immediately if wood has not been properly dried as it will smoke like crazy.
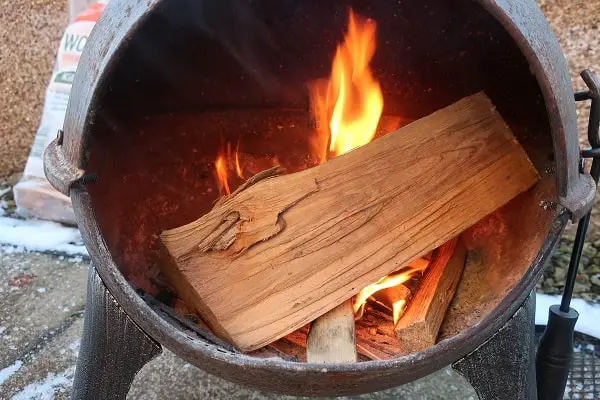
Step 5 – Add more Logs
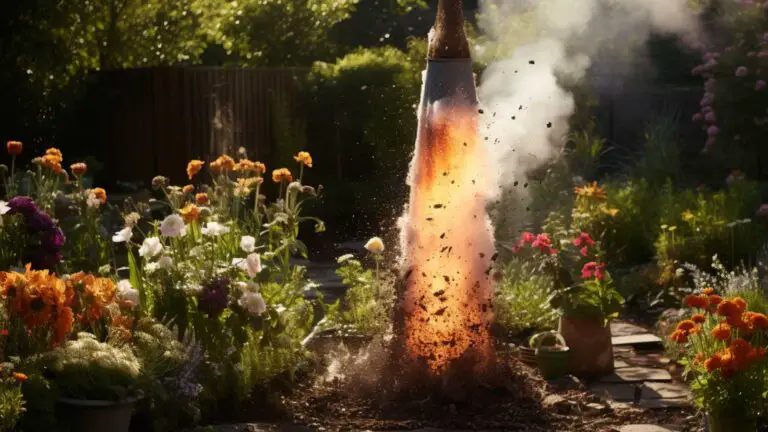
Now you can add more logs when needed. Be careful not to overfill your chiminea as the last thing you want is flames shooting dangerously out the top or even damaging your chiminea.
Tip: Remember to check the size of your chiminea bowl before buying logs.

I got these from a local garage and these types of logs are usually readily available in lots of different locations from petrol stations to convenience stores. Kiln dried birch is perfect for burning in a chiminea. Birch is a hardwood and it will give off minimum smoke.
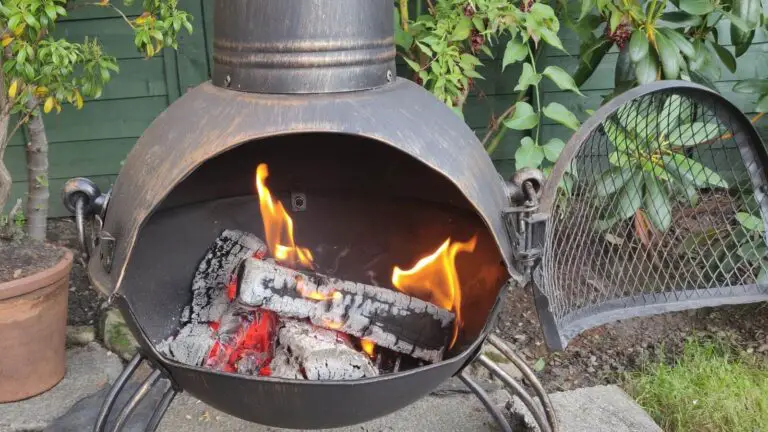
Now that you have a log on the fire, it should catch quickly and you can start enjoying your lovely chiminea fire.
Remember, you should keep chiminea fires small and only need one or 2 logs to create the perfect size fire. For more information on not cracking your chiminea with large fires check out this article – How to Set Up a Chiminea Safely.
All-In-One Logs
An alternative to the method above is using an all-in-one log. These usually come in the pre-packed form and the idea is that you don’t need kindling or firestarters to get them going. The one pictured is called ‘Easy Log’ but essentially you light the corner and
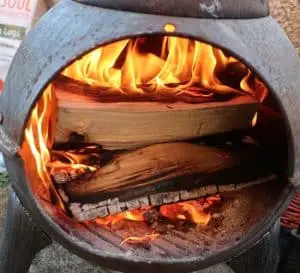
They are a fun novelty and if you are a complete beginner you may want to try these, but we don’t recommend them for long-term use. Things to be aware of when using instant logs are:
- the cost – they will work out a lot more expensive than traditional methods
- do not cook with them – they are loaded with chemicals
- they may leave wax or chemical residue in your chiminea
- they may not burn for very long
Problems Lighting Your Chiminea fire
The main problems experienced lighting a chiminea fire are:
- your firebowl is damp
- your wood is damp
- it’s too windy
You might also like Can I Use a Chiminea When It’s Windy?
Possible solutions include changing the sand in your chiminea – it may have got damp. Check that your wood is dry. Remember, if you are chopping your own wood, it’ll take at least months of drying before it’s ready to burn. Buying kiln-dried wood is the faster option.
Trying to light a chiminea when it’s windy can be difficult. It may be better not to light the fire if it’s too windy. However, don’t let a little wind put you off as the design of the chiminea helps protect you from the wind. Simply turn the back of your chiminea to face to the wind.
Something else you can do to improve how the fire burns is to put a grate in the bottom of your fire bowl. By building your fire on top of a grate, the fire burns best on a grate because the airflow is better.
Fire burns more efficiently on the grate because it allows air to circulate, which provides a better fuel source. The grate holds kindling and wood in place and provides ventilation to allow oxygen to pass under the fuel.
The grate allows heat and smoke to rise, which creates a draft that draws in more oxygen through the open chimney.
Final Thoughts
This should get you started enjoying your chiminea with the minimum fuss and maximum warmth. Remember when you go back to your chiminea for the next fire, depending on how long your first fire burned for, you may want to clear out the ash from the previous fire.
By keeping your chiminea clean, you’ll not only extend it’s life but also make sure it will light the first time.
To make sure your chiminea lights first time without any problems, store your wood and kindling somewhere warm and dry.
I hope that this article has helped you start your first chiminea fire.

